Do you love the look of needle-turn applique, but don’t have the skills or the patience to pull-off the technique? Then this style of applique is for YOU! No needle-turning, no raw-edges, no cutting of precise shapes; Yes gorgeous, and polished appliques in ANY SHAPE YOU CAN IMAGINE.
I’ve used this technique for a boat-load of projects, such as…
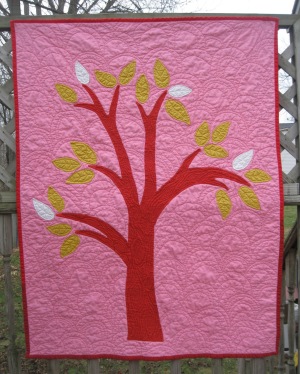
This red tree quilt and its leaves:
These clouds:
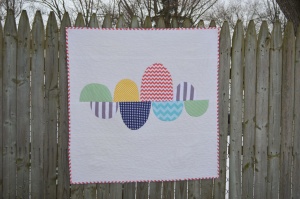
And this quilt top I’ve had in the works:
Read on for a full tutorial!
First of all, for a bit of lexicon-building, let me tell you that this is a method of PREPARED APPLIQUE.
Prepared applique involves turning the raw edges under before sewing the applique piece to the fabric.
Non-prepared applique is simply cutting the pattern piece and turning the raw edges under with the needle while sewing. No preparation is done when using this method.
So let’s start with a simple circle to get the general idea.
Get two layers of fabric.
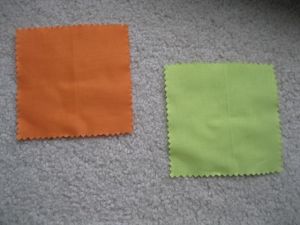
For this tutorial, the ORANGE fabric is the top layer – the layer that will be showing in our final product. Your background layer will be hiding, but in general it’s a good idea to pick a similar color fabric – or even an interfacing. For clarity, I am going to use YELLOW for my backing.
Place the fabrics right-side together and trace the circle shape directly onto the backing fabric. The tracing line is your sewing line – so no worries about seam allowance of any of that.

Don’t really use a giant sharpie – just using that for clarity. I recommend a washable marking tool.
Once you’ve traced the line, it’s time to sew. Sew on the line with a tight stitch – that is, a very small straight line stitch (like a “.8”, if you’re speaking my language). Go back and forth at the beginning and end to secure your stitches.
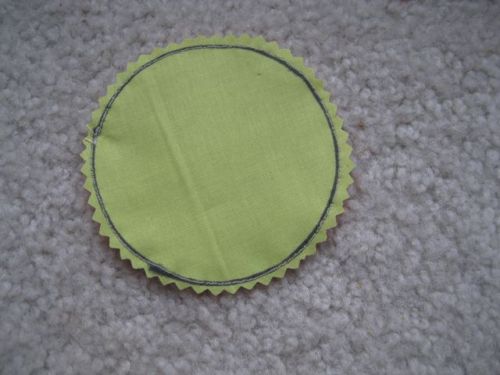
Once you’ve sewn all the way around and secured your stitches by doing a little back-and-forth, it’s time to cut out the shape. I like to use pinking shears and cut really freakin’ close to the sewn line – about 1/8″ away.
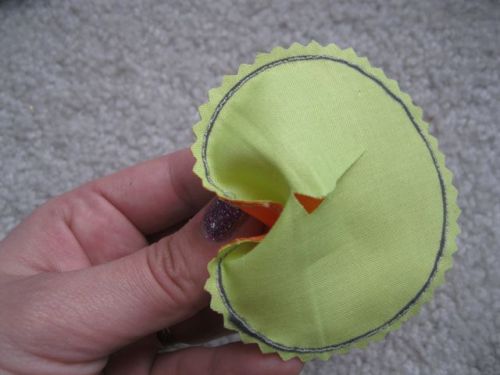
BUT JENNA! I HAVE TRAPPED THE PRETTY SIDE OF THE FABRIC INSIDE THIS SHAPE! Don’t fret, my pet. It’s time to birth this applique OUT. Cut a slit in the backing fabric, in the middle of the circle, and ONLY THROUGH THE BACKING FABRIC LAYER OR YOU WILL CRY.
Turn the shape right-side out. Use a tool (a mechanical pencil with the lead withdrawn is tried-and-true) to help get a crisp edge, but try not to be too aggressive or you’re going to poke through the sewing line**.
Press flat and put that sucker on the surface upon which you desire it to be appliqued. The slit should be touching the right-side of the block fabric. From here you can do hand-sewing and applique with a blind stitch, or you could do some machine blanket stitching, or whatever your little heart desires. It’s good to go.
After your secure the applique to your block, you can go to the back-side of the block and cut out VERY CAREFULLY the block fabric and the backing fabric from the circle. You are cutting out the guts so things look nice and flat. OR leave all the guts as they are and have a more three-dimensional look to your applique like TRAPUNTO.
JENNA CIRCLES ARE GREAT BUT I WANT TO DO SOMETHING FANCIER.
Okay let’s take a look at doing more complicated shapes. If the shape you want is not perfectly symmetrical, you’re going to have to pay attention that your design will be facing in the correct direction when you turn the pieces right-side out.
Depending on your shape, you may need to divide your pieces into several different pieces. For example, this large-scale applique was made by layering/arranging five different leg pieces.
In order to layer these pieces successfully, you’ll want to extend the lines of the lower layers so that there is an overlap when you place everything on top of each other.
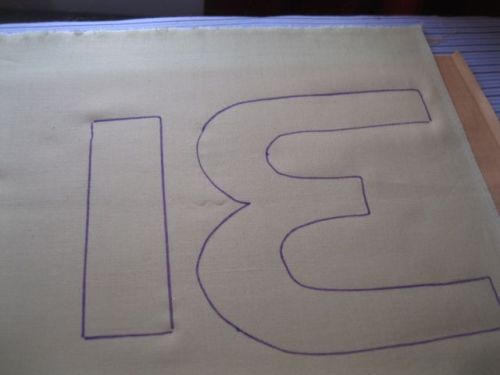
So if we have this letter B we’d like to applique, let’s break it down into two parts. For the Bar of the B, let’s make that the UNDER LAYER and extend the template so there will be a bit of overlap in our final product.

Notice how on the image to the right, I extended the bar of the “B” up so it will be overlapped by the other “B” template piece to the left.
Label our pattern (template?) pieces so we remember which side is the RIGHT SIDE and which side is the WRONG SIDE.
Layer your two fabrics the same as we did with the circle – right sides together, with the backing fabric on top. Place your templates on the fabric with the RIGHT SIDE DOWN. The template should look reversed to you as you gaze upon your layered pieces here.
Same process as the circles – Tracey trace.
Sewy Sew
Clippy clip
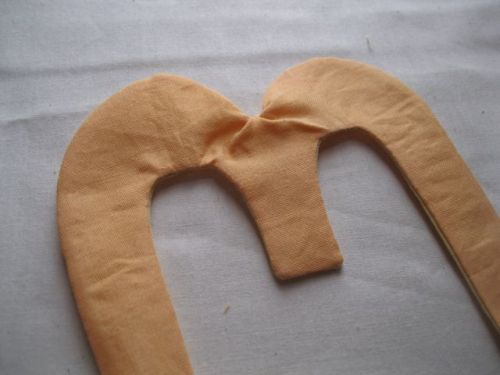
See how the point joining the two curves is a little janky? Get in and use a seam ripper on a couple of these stitches and then really go over this seam with your finger nail or a bone folder.
Pressy Press
Layer your pieces onto your block so that you do the under layers first and build up.
Under layer goes down.
Top layer goes on top, although I did decide to sneak the middle line of the “B” under the bar. Sorry my lexicon describing the parts of a B shape is so lacking…
Stitch that B into place!
Voila! The whole universe of applique lies before you and the vision is glorious. Enjoy!
** If you poke through the sewing line while you’re flipping right-side out, don’t panic. Often times I have had success just employing a TINY BIT of needle turn to the busted area before doing my normal applique attachment. You can also get some help by putting a little bit of water-soluble glue on the underside and sort of nudging the exposed seam allowance back under the shape.









Great tutorial, Jenna! Love your WIP legs 🙂
Love this! You rock!
Fantastic tute, thanks so much! 🙂 Lisa
You really are so clever! Ive just found this tutorial and I am in love with you! thank you so much. cant wait to check out the rest of the blog!!
Awww, thanks Sam!