
Here is a quilt I made for my mother for Christmas! I call it Woodlands in Winter. They live in the forest and run the Woodlands Sawmill.

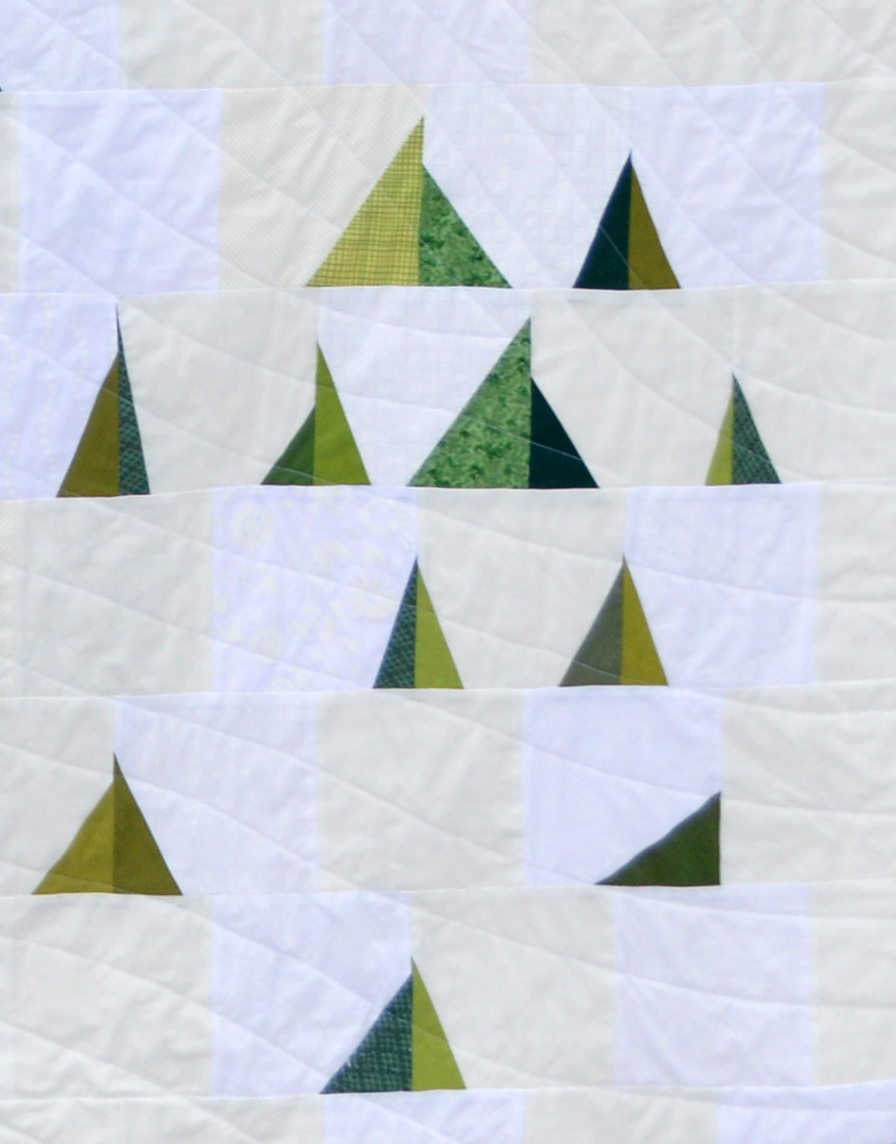
Improv trees on a sea of mixed neutrals. I was inspired by Lovely Design’s Lovely Little Forest quilt from the Purl Bee.

Walking foot quilting in flowing lines, inspired by Debbie’s Joy of Simplicity pillow seen here.
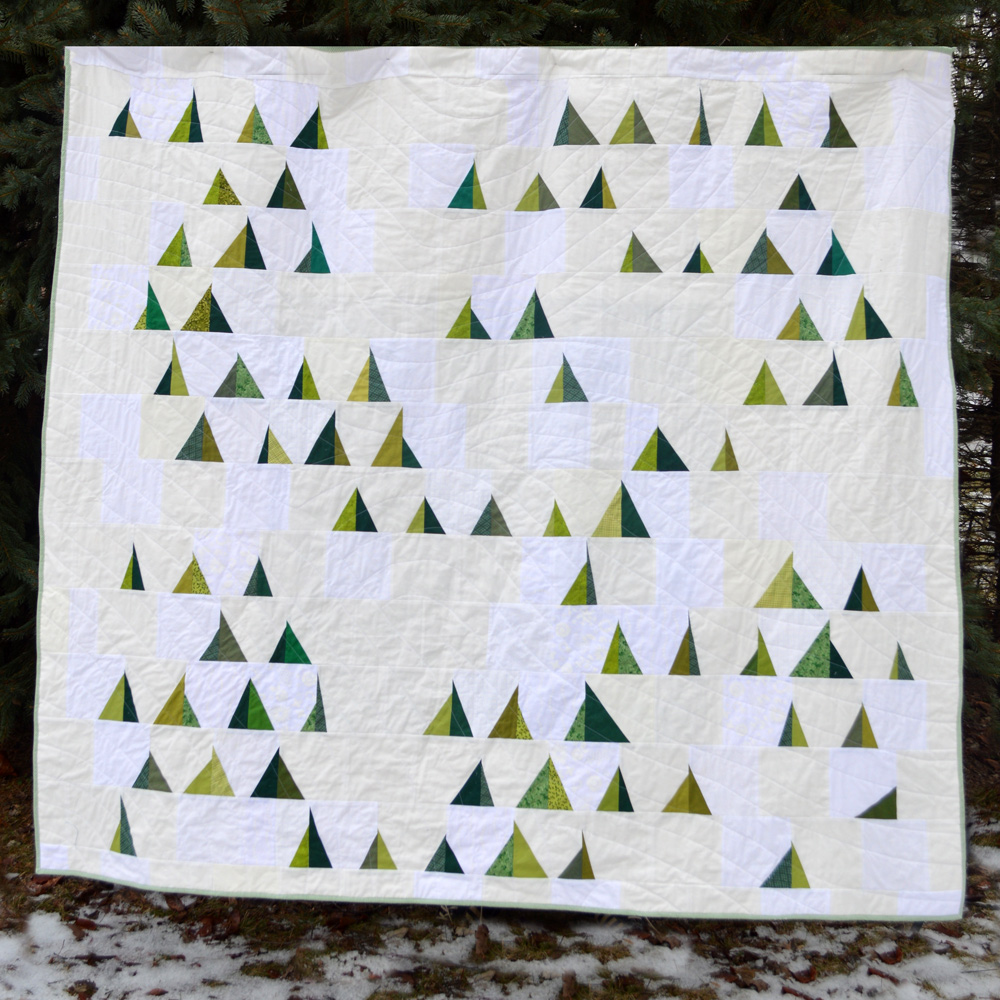 I bought a white-on-white bundle from Pink Castle Fabrics and used a lot of Kona Bone for the background. It measures something like 80″ x 75″.
 One tree fell down. Time to harvest its lumber!
Read on for a tutorial on how to make these wonky trees and plan for the final layout…
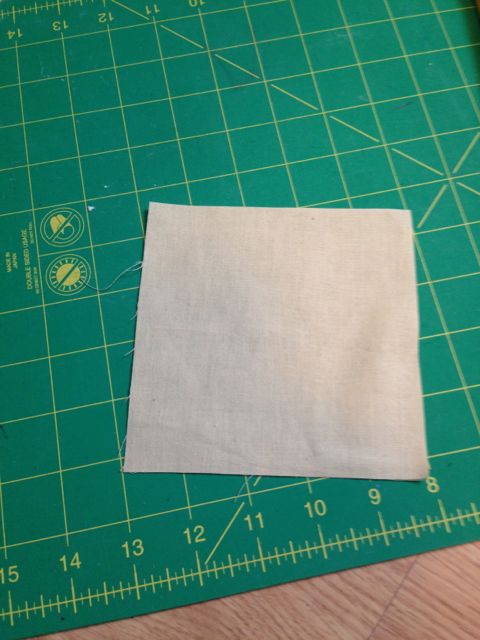
Start with a square of background fabric…
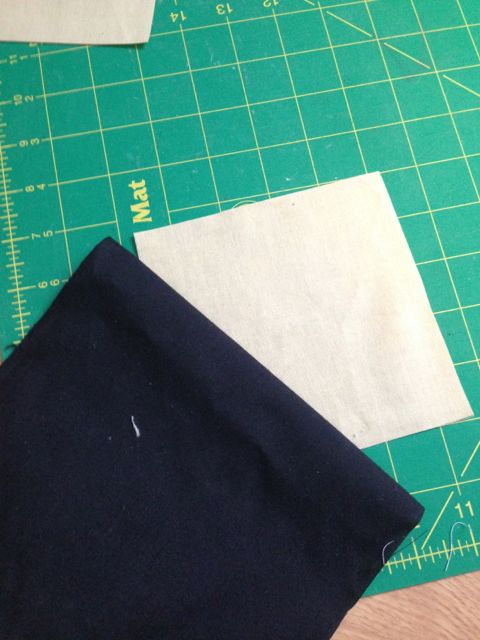
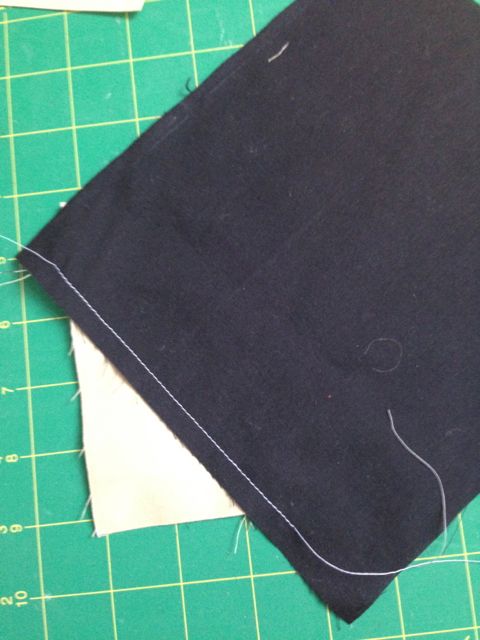
Lay your “tree” fabric on top of the background, right sides together.
 Fold the tree fabric back, allowing for seam allowance, to ensure that there is enough tree fabric to cover the corner of the square. Obviously I have more than enough fabric in this example…
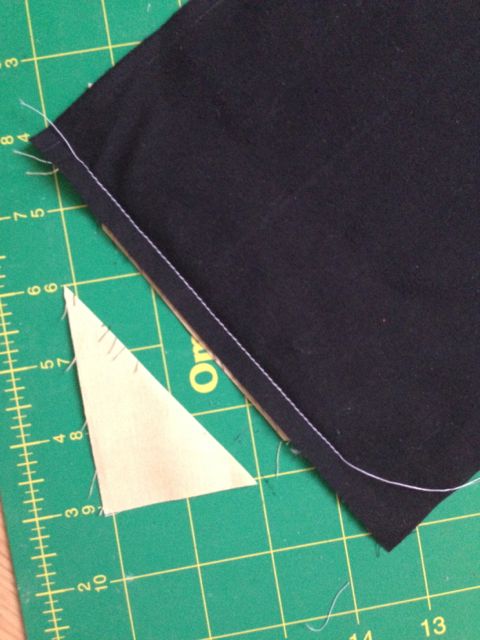
Unfold and sew with a 1/4 inch seam allowance (or whatever, the seam allowance actually doesn’t matter).
After you’ve ensured that your tree fabric is big enough to flush out the square, cut the excess background fabric and seam allowance so just 1/4 inch remains.
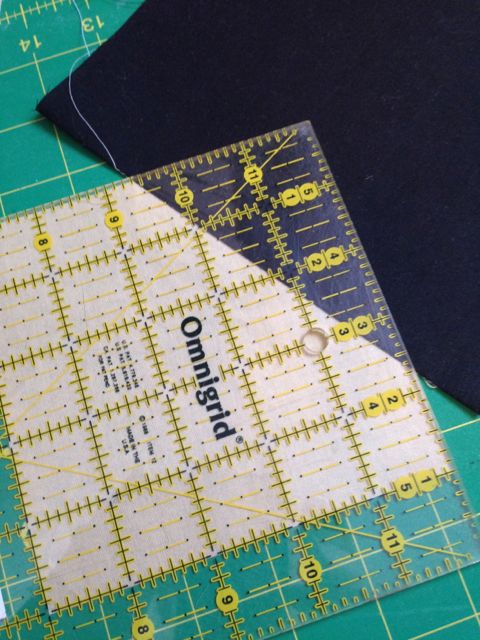
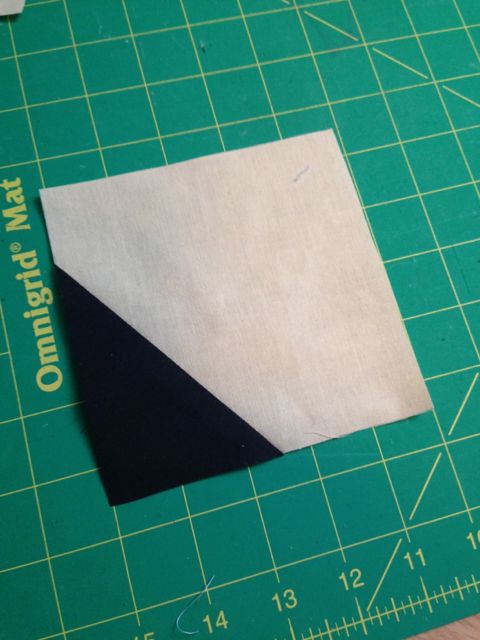
Press and square up the block:
Beautiful!
Repeat the process on the opposite edge to make two trees on the square, should you desire.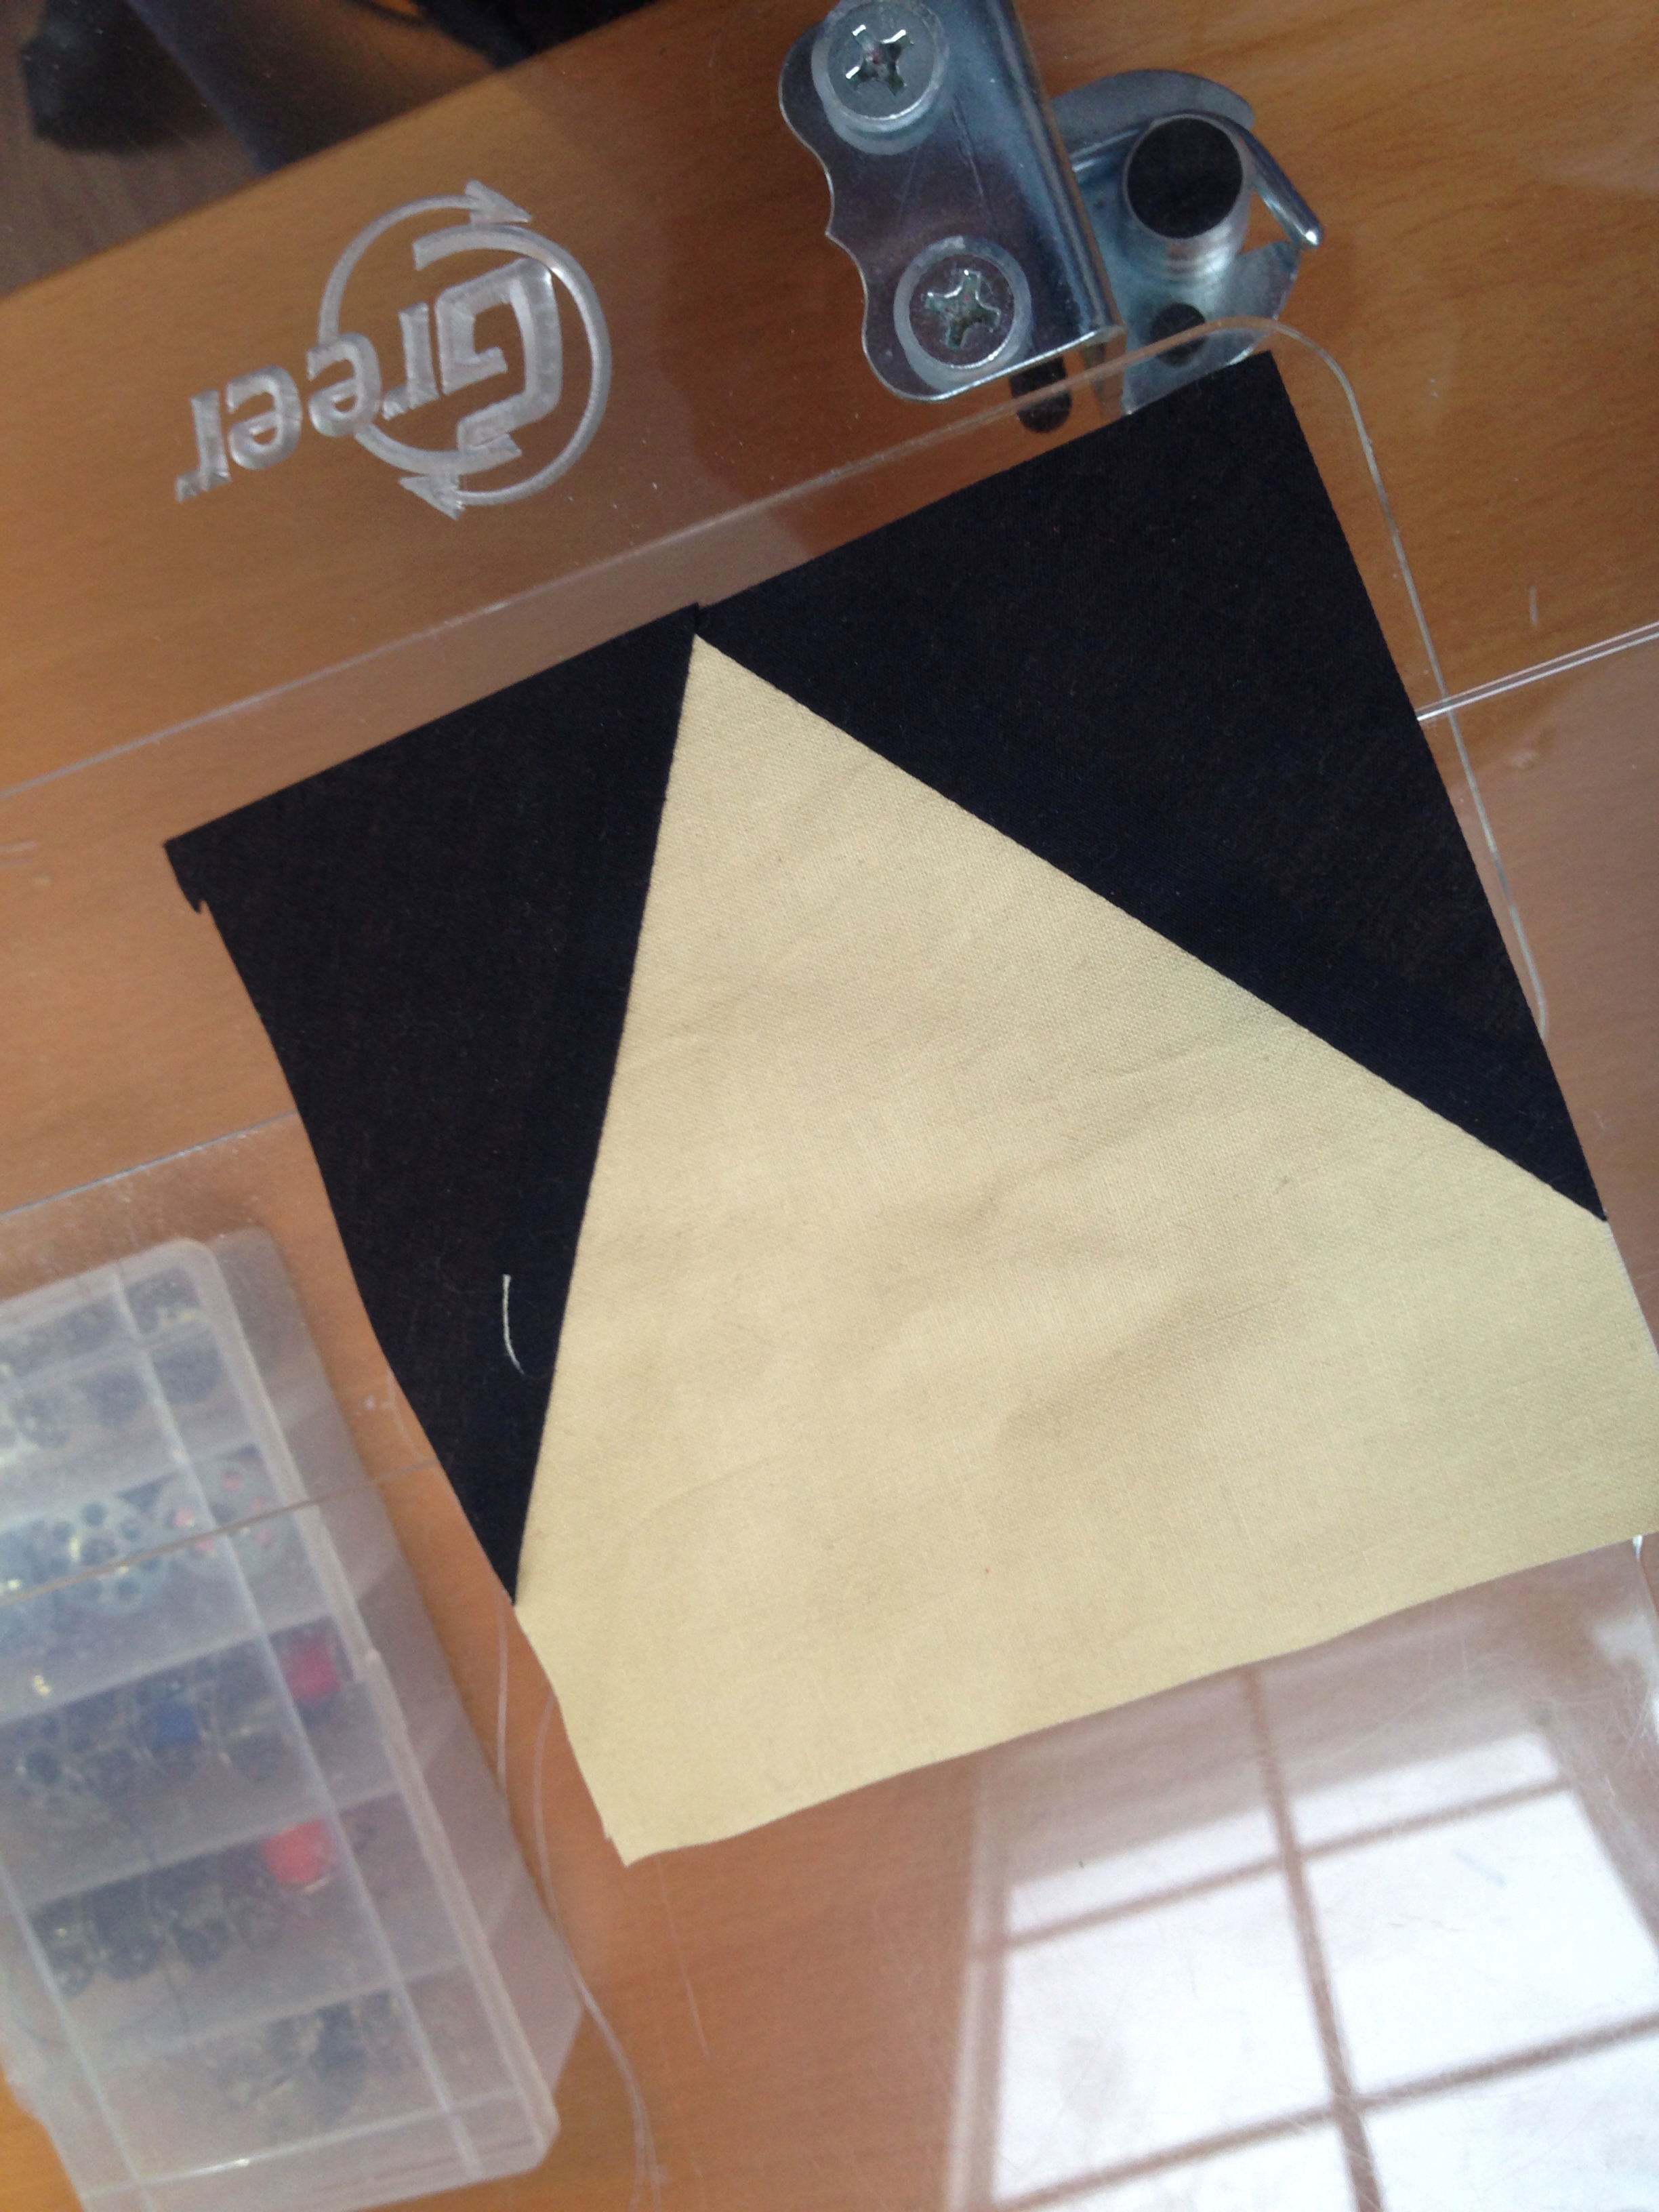 Upside down to freak your freak.
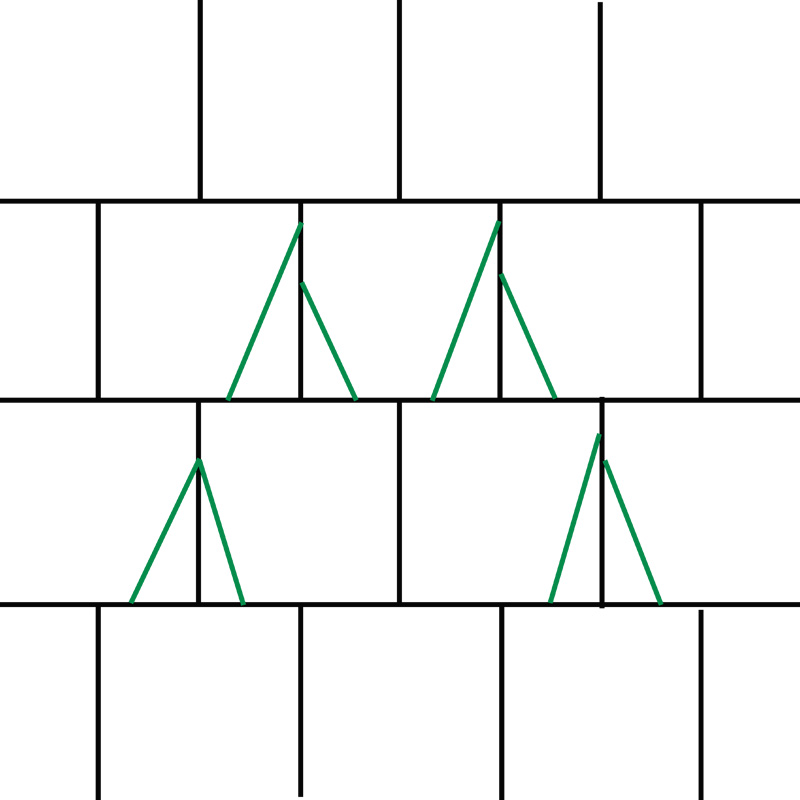
When planning the layout, I decided to stagger my squares, like laying bricks:
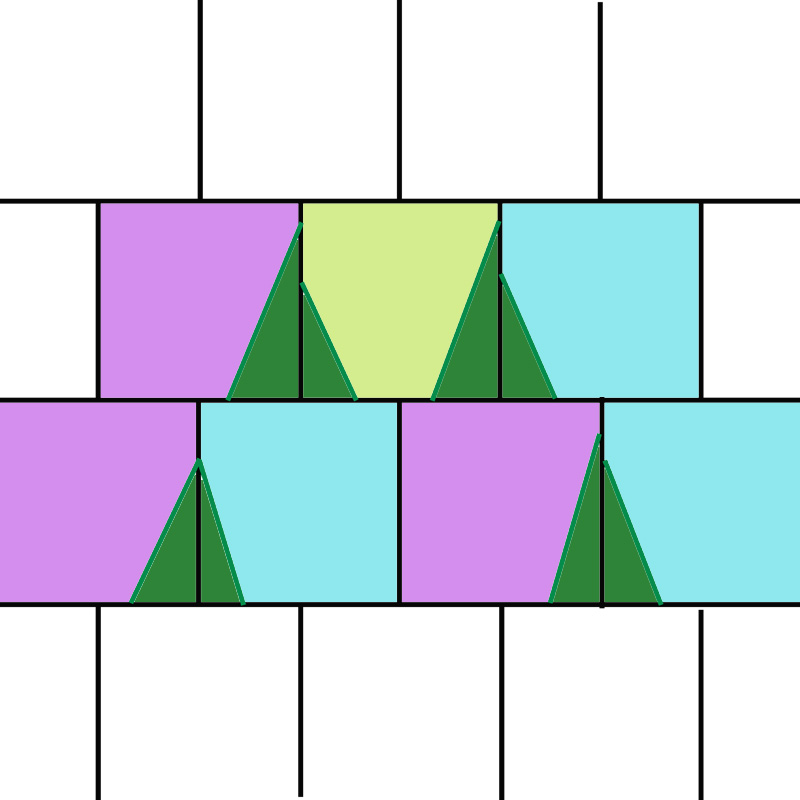
I thought about little tree clusters. Sometimes there would be a single free-standing tree, and other times a row of a couple. Pink blocks are “tree starters,” yellow are “middle trees,” and blues are “closers”
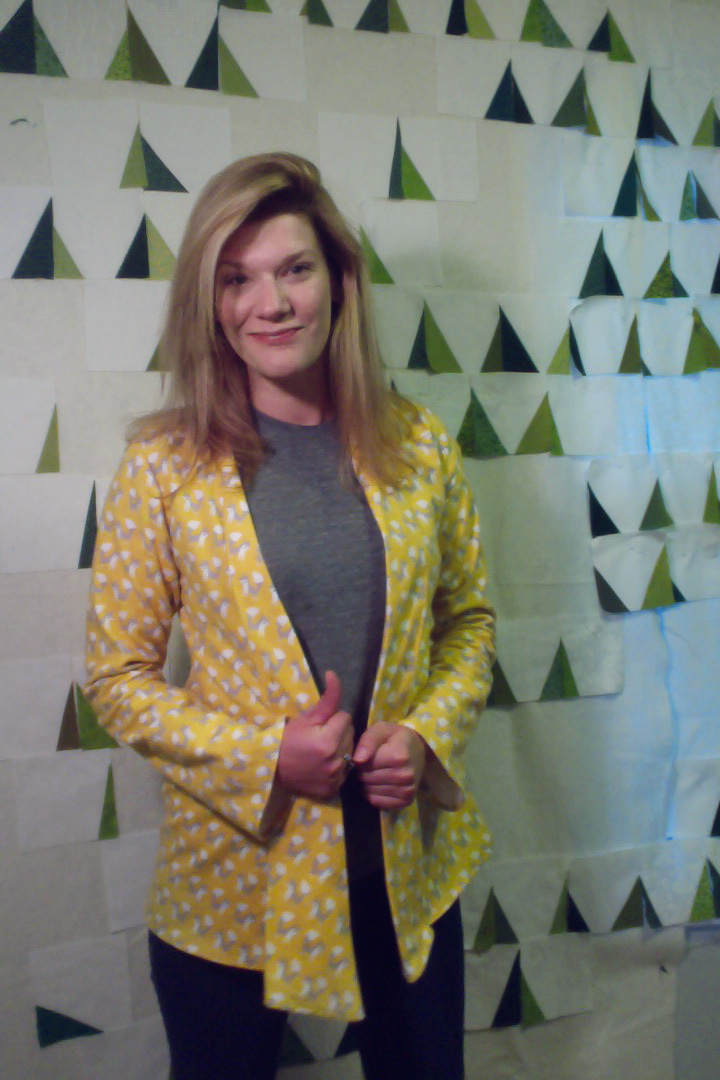
 I made a bunch of each kind of block and then started playing on my design wall. Yes, there were left over blocks and I’m okay with that. They will be dissected into scraps and used for something else awesome someday. It’s just fabric. Once I had my villages in place, I came up with the areas that would need blank neutral squares, areas where I needed more starters or closers, and filled in until I was satisfied! You can kind of see my “playing around” stage in the background here:
Thanks for stopping by! If you make a quilt based on this tutorial, I’d love to see! Link to it in the comments.
Have you made any tree quilts? Lemme see!


Beautiful!
Thanks! And thanks for stopping by!
Amazing!
Thanks so much!
I love your quilt. What a great idea.
Thank you! It was fun to make this for my folks in the deep woods, surrounded by pines!
Love your quilt. Thank you for sharing your process.
My pleasure! Thanks for the note.