Here’s a little round-up of the ornaments I’ve made this year that you can easily make, too! It’s not too late!
One of my new favorite things is to hand-screw little eyelet screws into toys to turn them into whimsical ornaments. This idea started with our desire to get a bunch of caveman ornaments to represent our youngest son on the tree. (Our oldest son was nicknamed “baby Acorn” in utero, and there are TONS of acorn ornaments to be found! At least there were until we bought them all in 2008. Youngest son didn’t get nicknamed until he was a toddler when he became the Caveman. Not so many of these ornaments on sale, so time to make our own!).

You can do this with most plastic or wooden ornaments without any power tools.


I use a stabby shank tool and first perform an icepick lobotomy on the toy.

Hand-screw until you can’t screw anymore, and then bring out the pliers.

These bros stick together. And congrats! You found the pickle.

More cavemen ornaments. These were awkwardly flesh colored, so hubs spray-painted them gold first.

Happy caveman eyes Baby Acorn.
On of my other favorite ways to make ornaments is to buy pre-cut wood shapes from a hobby store (like JoAnn’s or Michael’s) and to decoupage! A couple of years ago I did this with artsy papers. This year I did it with some pictures! I find the best way is to adhere the paper (print images on computer paper rather than photo paper) with a glue-stick onto the pre-painted wood surface. Than go over the paper with a Glue/Sealant (Martha Stewart makes a nice one).

Drill a hole into the shape, string a string, you’ve got yourself an ornament.
I took this process in a different direction with my 4-year-old. He painted the shapes and then glittered the hell out of them. Later I went over them with the sealant to lock in the glitter a bit.


An easy gift addition for grandparents and teachers!


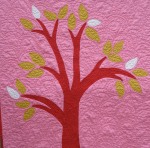
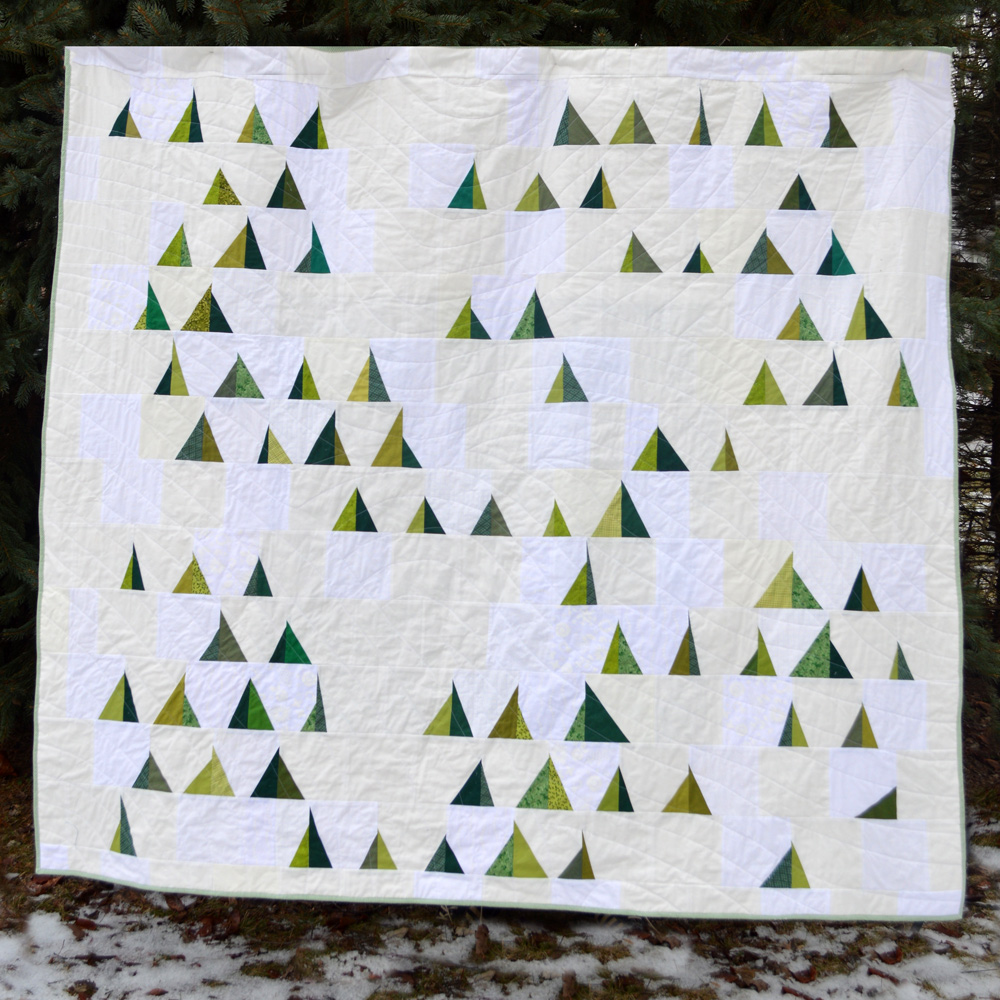 I bought a white-on-white bundle from Pink Castle Fabrics and used a lot of Kona Bone for the background. It measures something like 80″ x 75″.
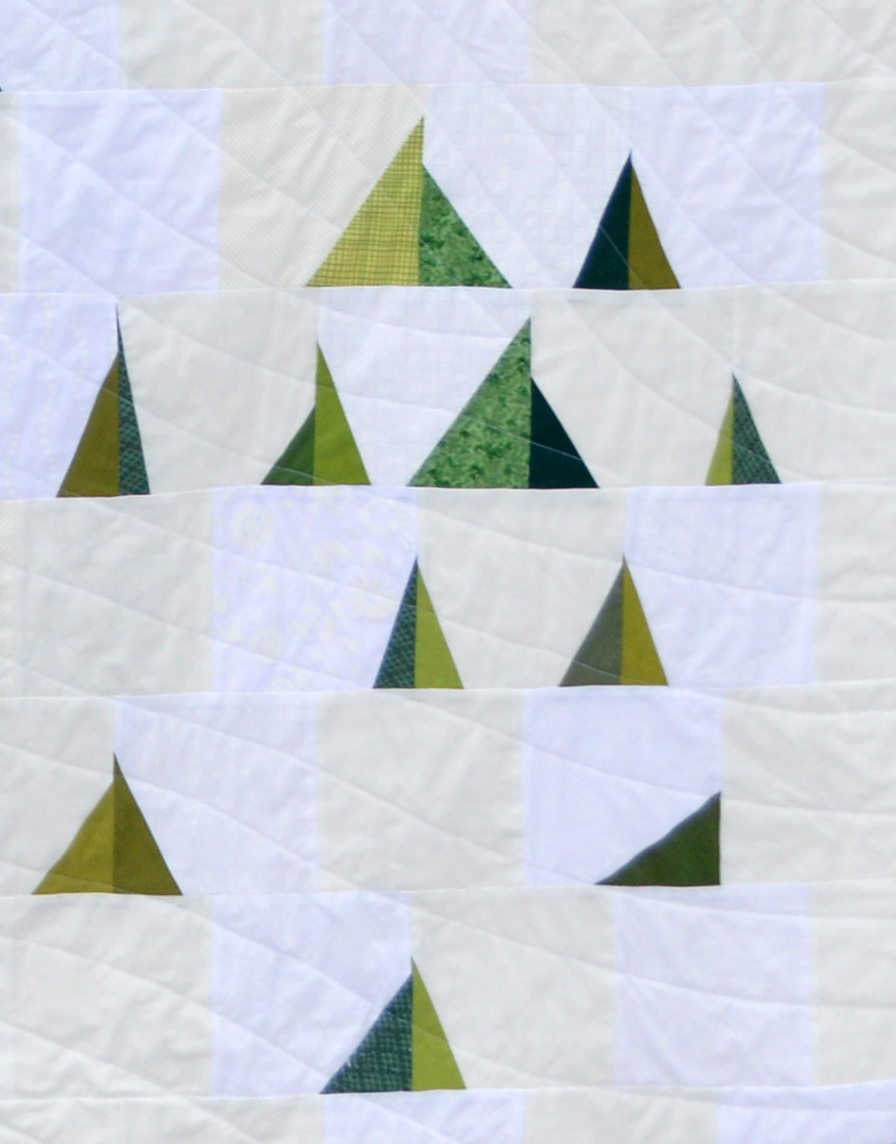 One tree fell down. Time to harvest its lumber!